An exciting description of how one of the challenges of "Hack The Wood" was solved. It is easy to see what is possible in just a few days.
Hello world! As a dual student at HOMAG I took my chance to represent the HOMAG Digital Factory at #hackthewood2019 in Berlin. In this article series I want to show in three steps how we built an idea into a working prototype in less than four days.
The idea
The challenge I was responsible for - connecting the digital worlds - consisted of the implementation of a rather simple idea: Connecting the tapio ecosystem with IFTTT.
IFTTT or "IF This Then That" is an Internet of Things and automation platform which can be used by anyone even without technical knowledge. As the name suggests it's all about very simple automations which you can click together in their website or mobile app like:
IF I like a music video on YouTube THEN add it to my Spotify library.
IF my vacuum cleaner robot is stuck somewhere THEN send me a push notification to my smartphone.
If the tapio ecosystem was connected with IFTTT a carpenter could setup individual automations on his own like:
IF my CNC machine set off an alarm THEN turn on pulsing Philips Hue lights so that a nearby employee is informed and can investigate the issue.
IF I tell Amazon Alexa to turn on my edge banding machine THEN my edge banding machine starts up.
How does IFTTT work?
At IFTTT things are simple, which is great because it enables everyone to use the platform.
An IFTTT-Service can be any kind of digital platform like YouTube, iRobot, Wordpress or tapio. However after a successful integration into IFTTT every service only consists of a brand, triggers and actions anymore.
An IFTTT-Trigger can be used to listen for an event to occur in its origin service. For example the BMW Labs service provides among others following trigger:
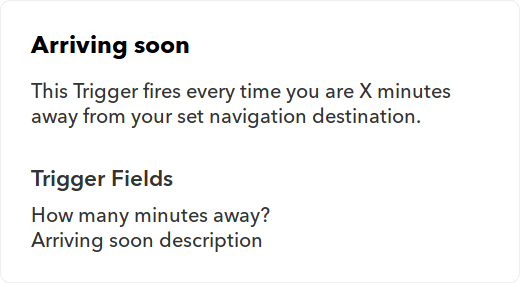
As you can see a trigger has a name, a description and an amount of properties.
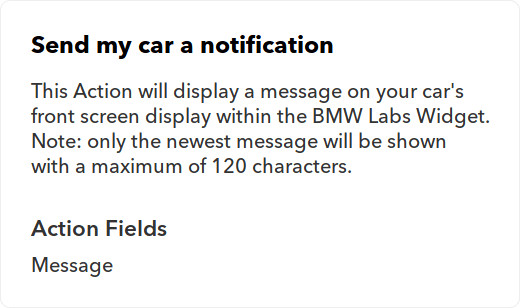
On the contrary an IFTTT-Action can be used to invoke something in its origin service. Actions are built with the same pattern as triggers like another example from the BMW Labs service:
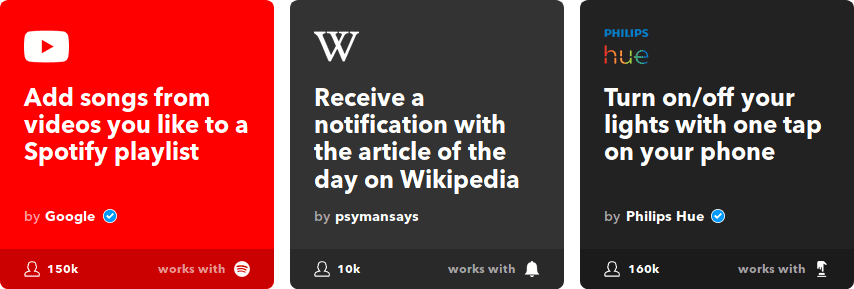
Finally one can combine a trigger with an action from any service, which is then called an IFTTT-Applet. Applets can be shared and discovered on IFTTT.com in the discover section. An excerpt:
The implementation
On the first day of the hackathon we used the available time to create an implementation plan broken down to small tasks. The remaining time until the presentation session on the fourth day, where all teams showcased their prototypes, consisted of coding, reading documentation and scratching our heads.
As integrating tapio into IFTTT the official way would've been a project on its own and required access to tapio internal structures we used an IFTTT-Service called Webhooks instead.
There is no official specification on what exactly a Webhook is but it's generally accepted to think of a Webhook as an endpoint for a HTTP call which when called triggers something. The IFTTT Webhook service provides a trigger which can receive HTTP calls and an action which can send HTTP calls. Therefore it can be used as an interface to inject or receive any kinds of events.

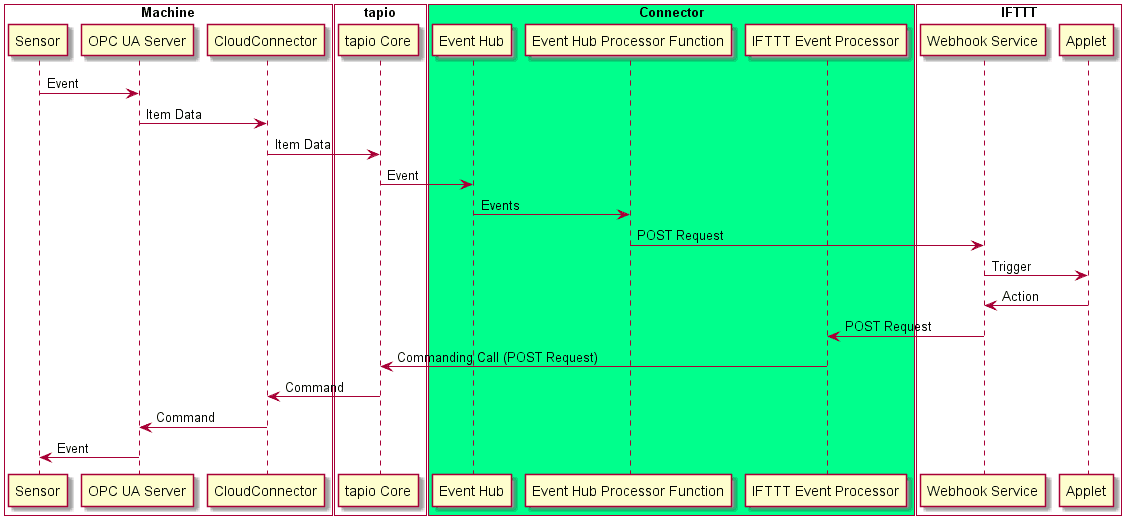
So there were two event flows we had to implement: From tapio-ready machines to IFTTT and back:
Building a demo machine
In order to test the tapio-IFTTT-Connector as we were developing it and also to showcase our accomplishments later on we needed a test machine which
could run the tapio CloudConnector,
could run a OPC UA server,
has an input so that we could trigger events
and has an output so that it could process actions.
The tapio CloudConnector is the piece of software from tapio which has to be installed on a machine so that it can connect to the tapio ecosystem. CloudConnector can speak a machine to machine communication protocol called OPC UA which we can use to hook up input and output components with CloudConnector.
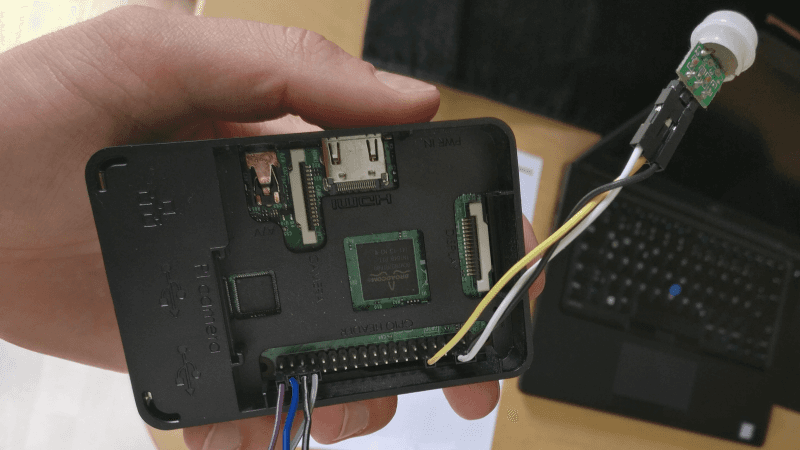
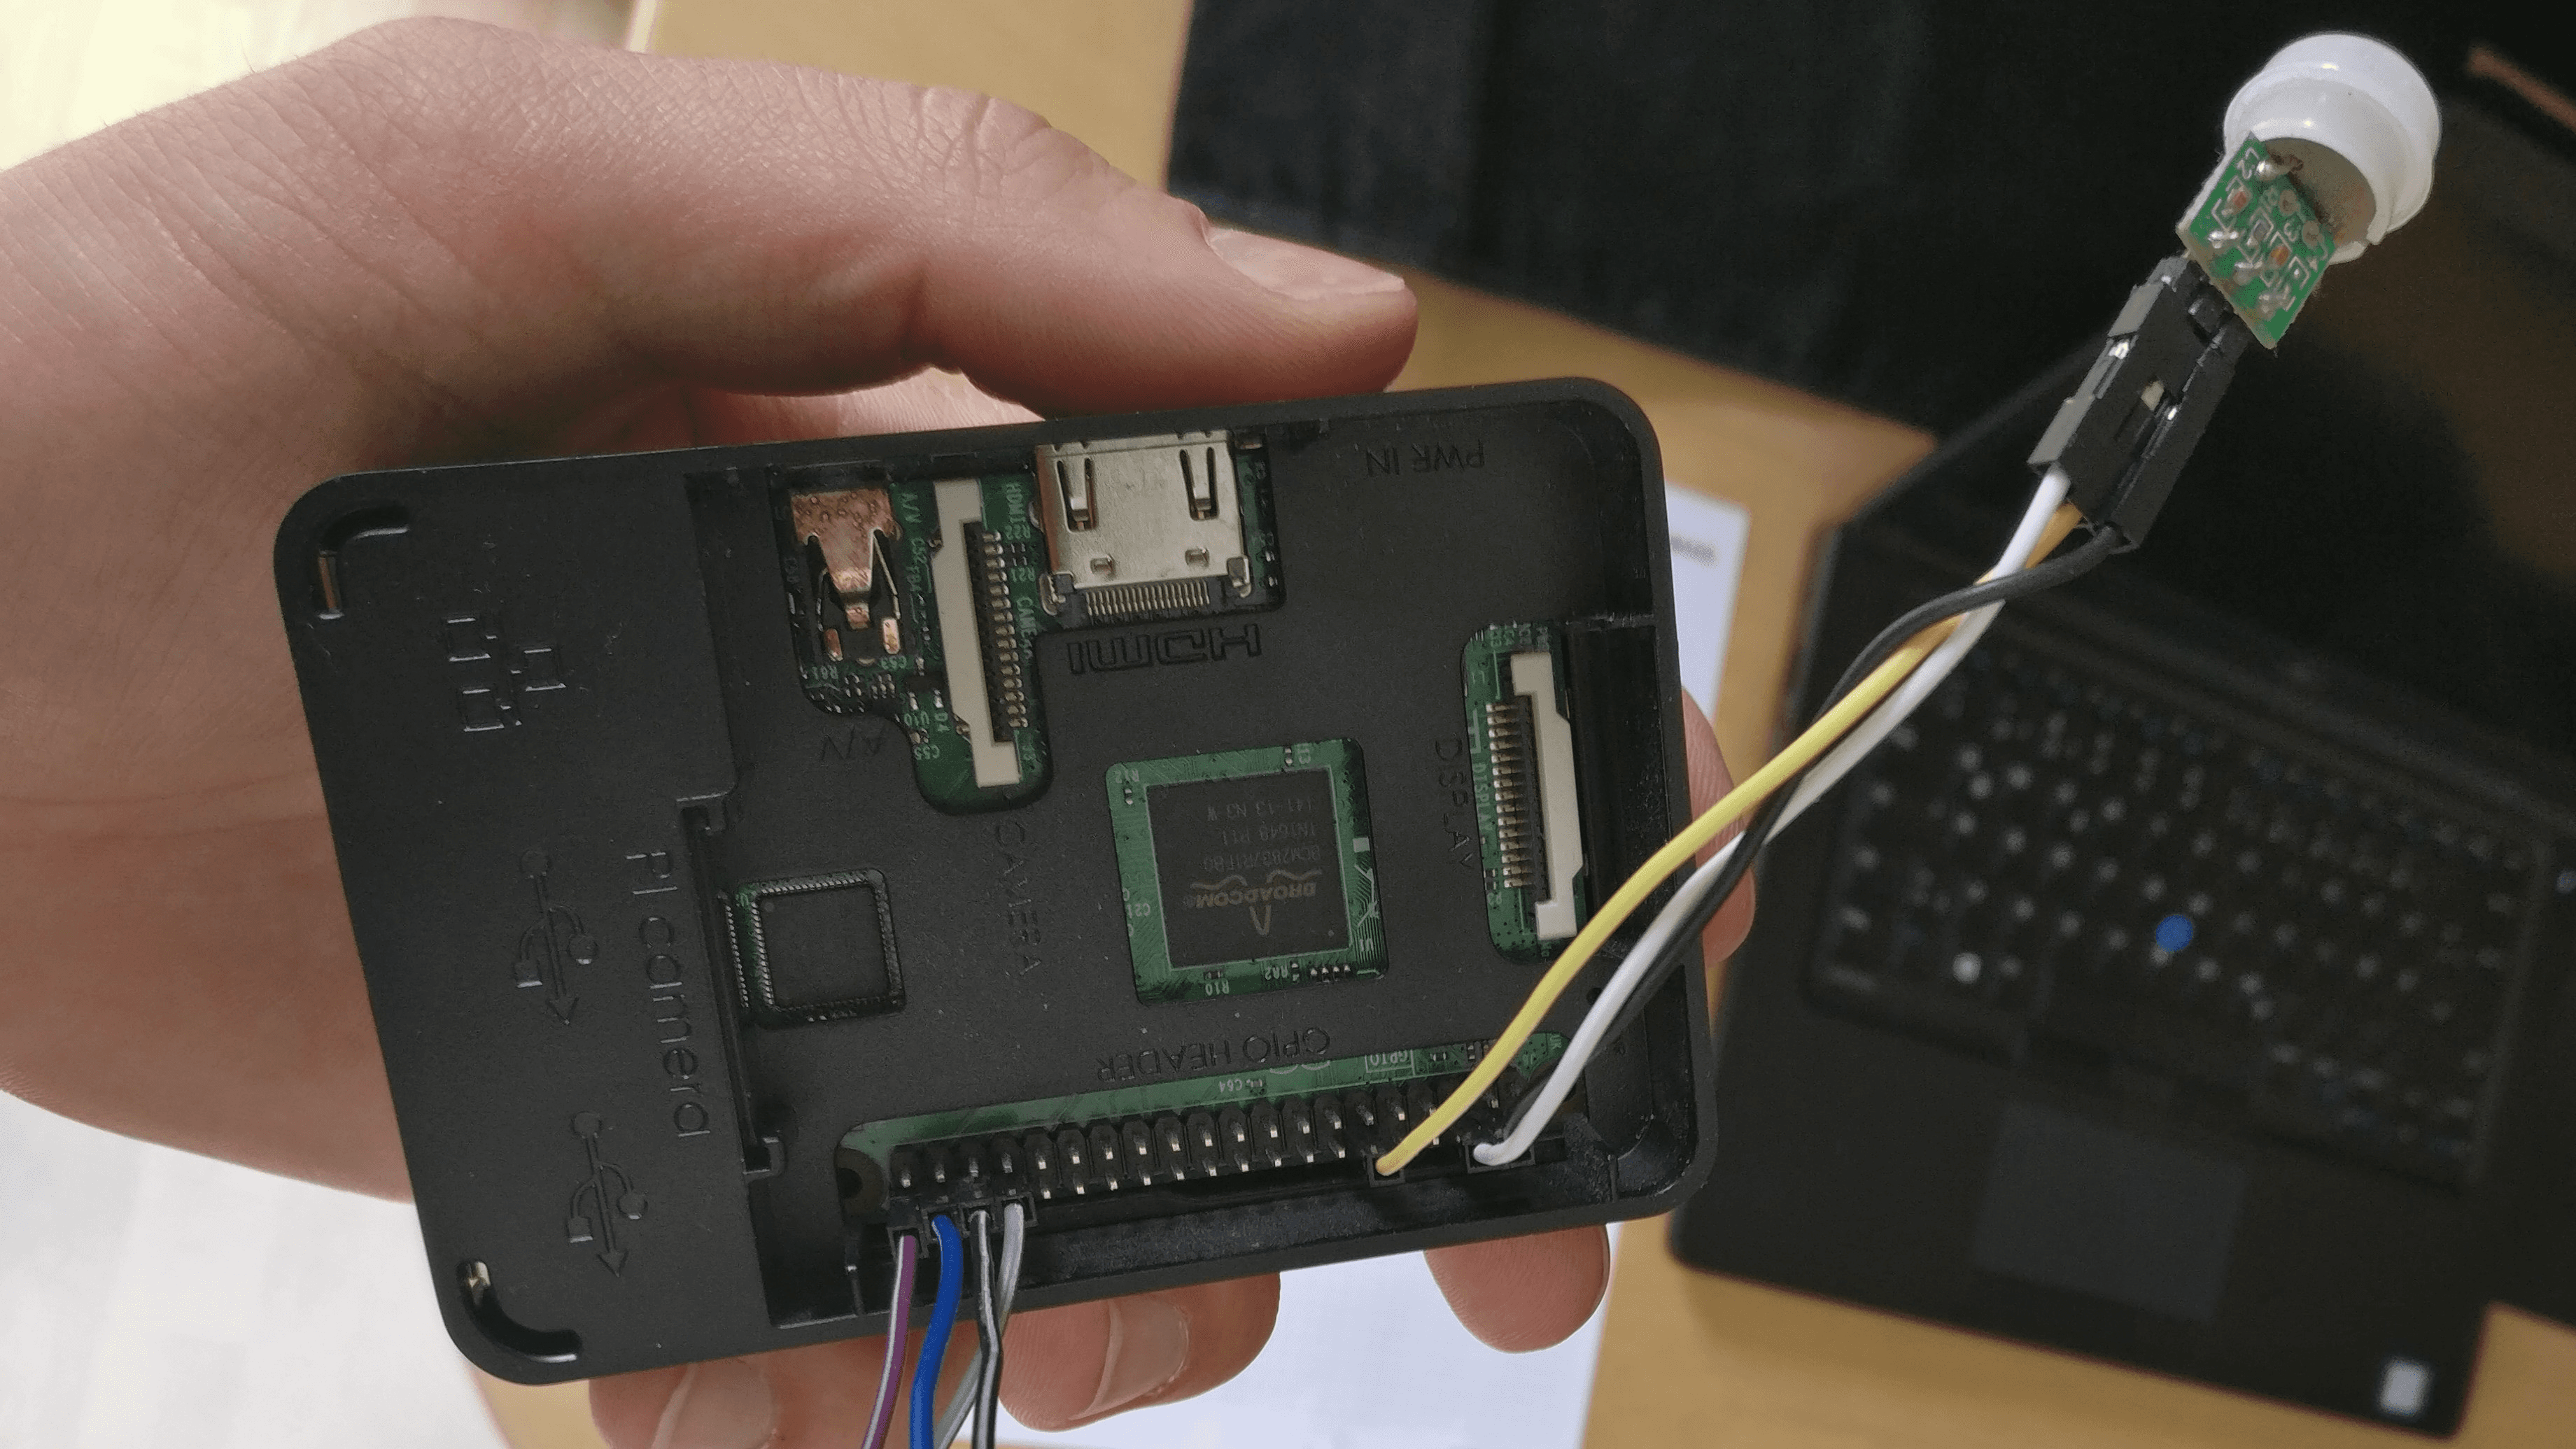
The first idea that came to mind was to use a Raspberry Pi. It's cheap, reliable and easy to set up. It also provides a GPIO-interface which can be used to connect any input or output component like a motion sensor as input and a RGB LED as output.
So we went ahead, got ourself a Pi, installed Raspberry Pi OS and set up SSH access. Then we took a look at the tapio developer portal to figure out how to install the tapio CloudConnector linux. When the CloudConnector was running on the Pi we then continued with setting up remote debugging with Visual Studio Code. This way the implementation of the sensor-connecting OPC UA server was a lot easier.
With our demo machine up and running we started working on the implementation of the connector itself. Stay tuned for the next article in this series where we will share how we implemented the route for events from IFTTT to tapio-ready machines.

